
This recipe takes about 2 hours from start to finish, which isn't fast at all, but it isn't bad for a yeast-raised bread recipe. As we go I'll tell you how to chop some time off the recipe if you're in a hurry.
Start with 1 1/2 cups of warm water.

I think, with a thermometer, the temperature should be between 110 and 115 degrees. Is that exact enough for you? I haven't ever really used a thermometer, but that's rather dangerous. If the water's too warm, it'll kill the yeast and the bread won't rise. If it's too cool, the yeast won't activate and the bread won't rise. Either way, you can't win. If you already bake bread, you probably have a feel for it. If you don't, you should use a thermometer.
Add 2 tablespoons of sugar to the water (psst: you could also use honey!).

Stir it to dissolve completely. If the water was warm enough, you should be able to completely dissolve all the sugar.
Now for the yeast. Drop 2 teaspoons into the water.

The yeast will all stay on the top. Don't stir it or anything, just let it sit for 5 to 10 minutes.
While that's happening, get out your mixer with the dough hook attachment. You can do it by hand of course, but bread is tough to mix by hand.

Dump 4 cups of flour a teaspoon of salt into the bowl of the mixer.

Now melt 2 tablespoons of butter. You can also use olive oil, though it might have too strong a flavor if you're sensitive to the taste of it, like me. You could probably even use regular oil, except that wouldn't provide as much flavor. Really, butter is the best idea.

This is what my yeast, sugar, and water looked like after around 7 minutes.
 |
| It smells weird, but don't let it worry you! |
Make sure you stir it up before you move on to the next thing.
Pour the butter into the yeast and water to make everything easy.

Turn the mixer onto its lowest speed and pour in the liquid.

Now you just have to step away and let the mixer mix! Occasionally scrape the sides of the bowl down, though. It took a good 3 or 4 minutes of mixing for me before the flour was totally incorporated.
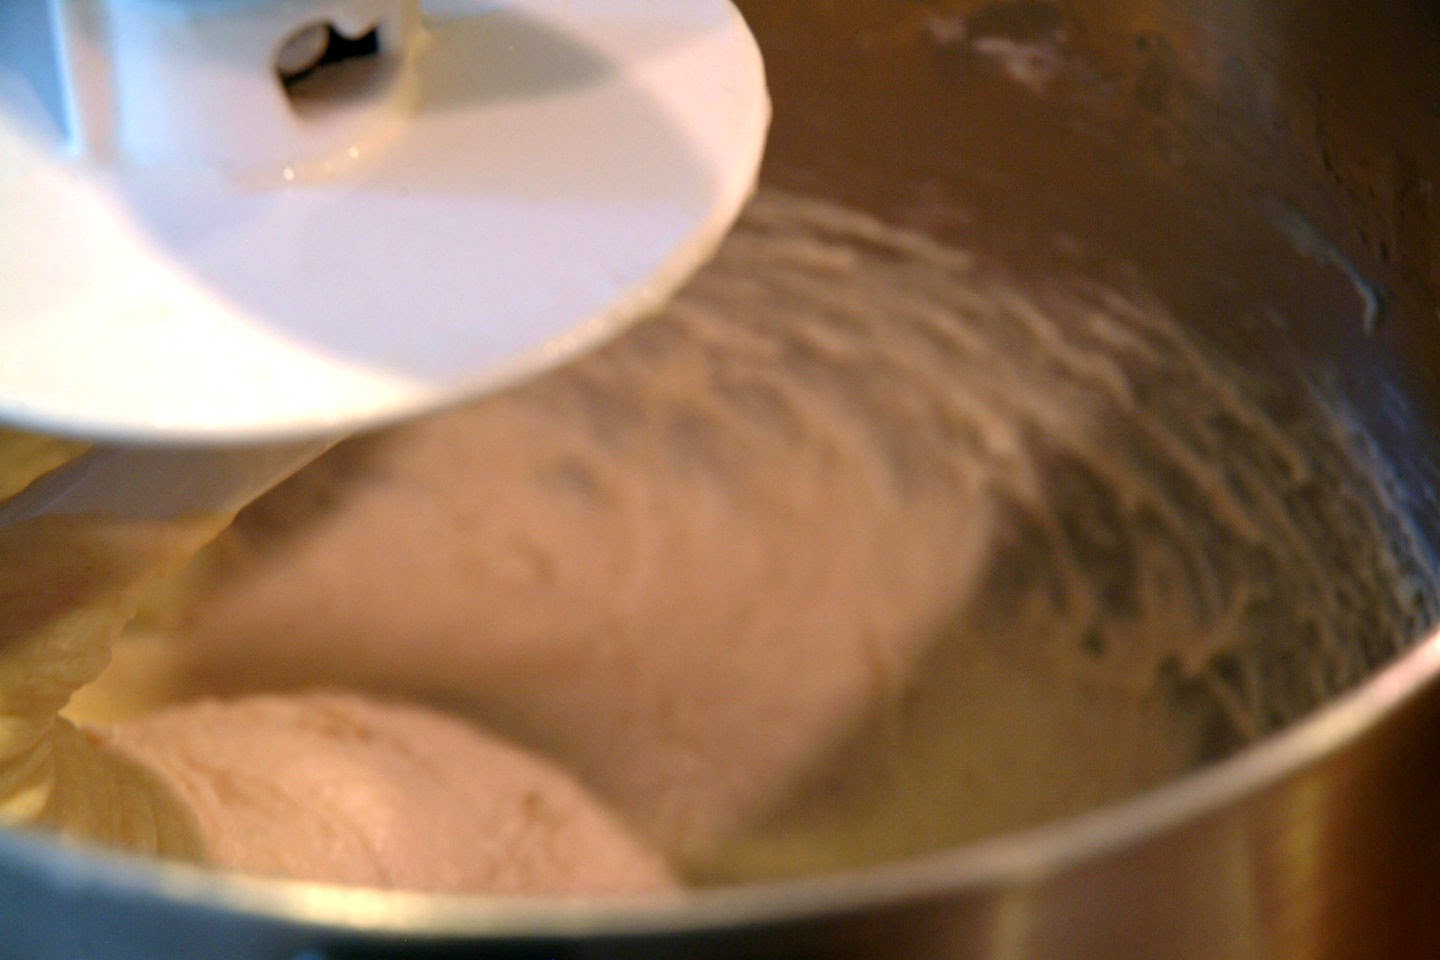
Now when that happens, turn the mixer to the next highest speed and mix for about 5 minutes.

At the end of that time the dough is still pretty sticky, but it's more supple and elastic-y. (If there's a word for that, I don't know it).
Now just scrape all the dough into a bowl.

Cover the bowl up with a towel and let it rise for about an hour. Technically, it needs to be in a warmish place, but unless your kitchen is cold and drafty I don't think it really matters.
Here's where you can cut away some time, by the way. Let the dough rise for 30 minutes at least, but it doesn't have to be an hour. The rolls will be a bit heavier, but still tasty.
After an hour the bread dough looks like this!

Dump the dough onto a very clean, floured surface.

Now at this point, how you form the dough is up to you. I'll show you how I did it, but you can make as many or as few rolls from the dough as you'd like. If you don't use all the dough at once, it'll keep in the fridge for a day or two, but not any longer than that.
I patted mine into a rectangle....

And used a pastry scraper to cut it into 16 sections. You can use a pizza cutter, a knife, whatever works for you. Just make sure you thoroughly flour it before each cut so that it doesn't stick to the dough.

I rolled each piece roughly into a ball and put them in a buttered 9x13 pan in 6 rows of 4. Or 4 rows of 6, if you like that better.

Cover it up with a towel and let it rise for about 20 minutes, or however long you have. Mine rose for about 45 minutes because that's how long I had, and this is what they looked like. Again, if you don't have loads of time, you might opt for a short rising time here.
 |
| My little rolls matured into such lovely young people! |
Preheat the oven to 400 degrees.
Meanwhile mix equal parts honey and melted butter thoroughly. I think I used about a tablespoon of each.

Brush half of it over the rolls. I added a sprinkling of kosher salt because it's interesting that way. You don't have to at all. But please don't skip the butter/honey thing. It's important! Really.

Now you can bake the rolls until they look like this.

That's about 15 minutes for me. But it does vary! You might have to bake yours longer or shorter because that's the way bread works.
Now you can brush the rest of the butter/honey over the rolls.
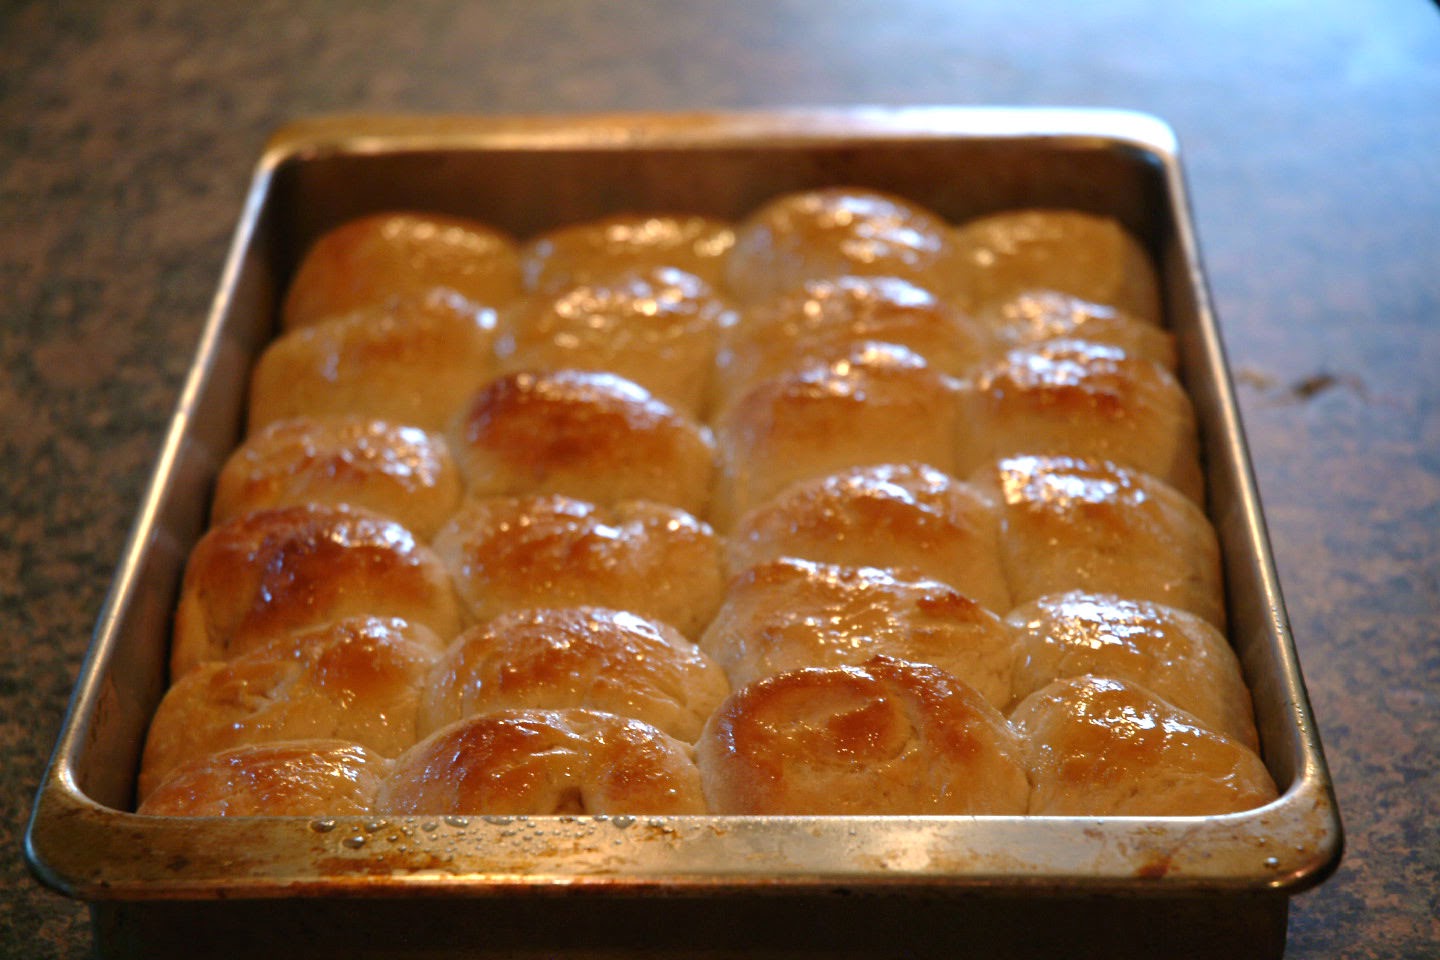 |
| They're even more lovely in person..... |
These actually taste better if they're not steaming hot, in my opinion, but don't let them cool all the way. There really isn't anything like warm dinner rolls out of the oven.

Enjoy them soon and surprise yourself with how easy it is to make dinner rolls at home!
Love, Tasha


